This guide will show you how to add edging to your landscape design in Realtime Landscaping Plus.
To begin, click the Landscape tab and click the Edging button.
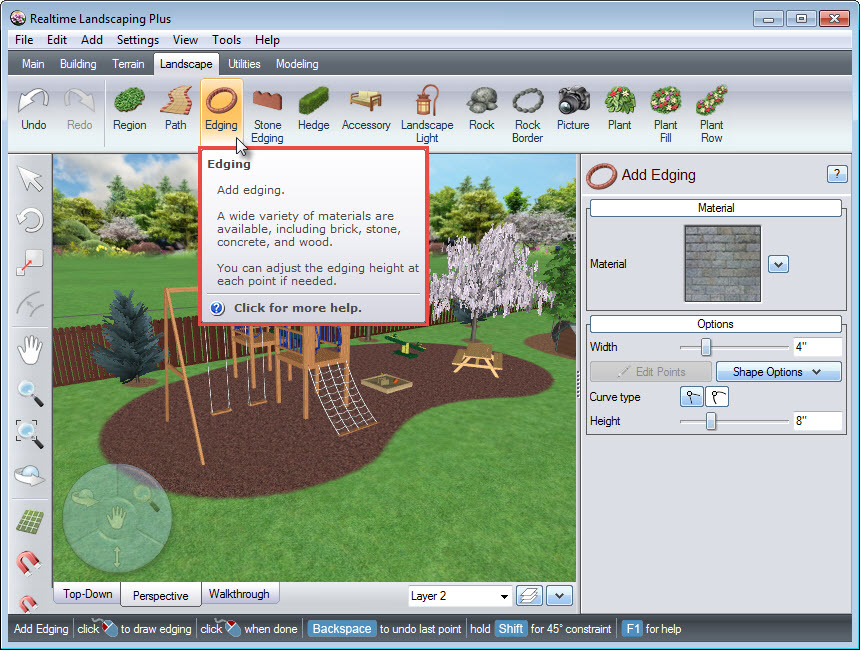
To create the outline of your edging, Left click to place points. To place the last point, Right click or, Left click on top of the first point, and it will complete the outline.
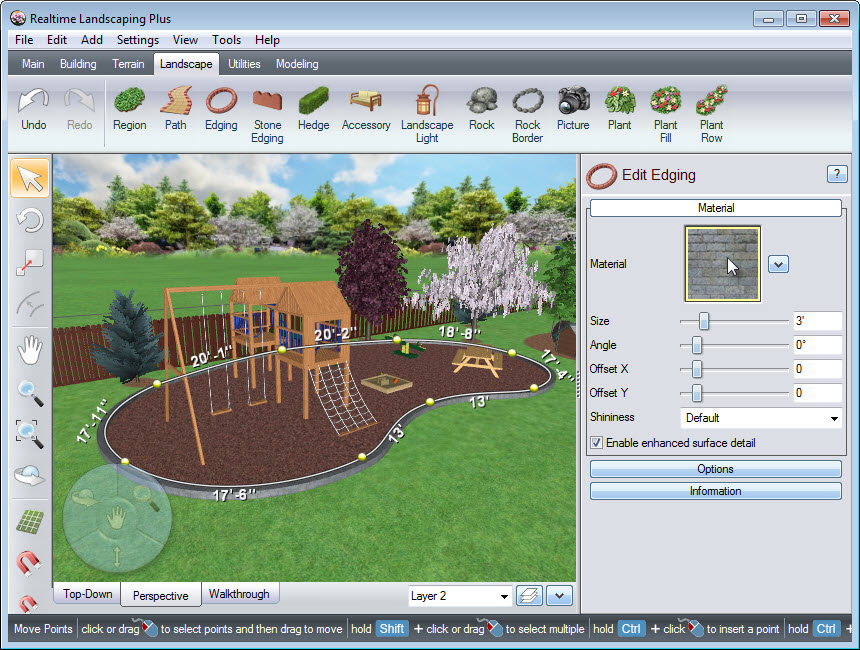
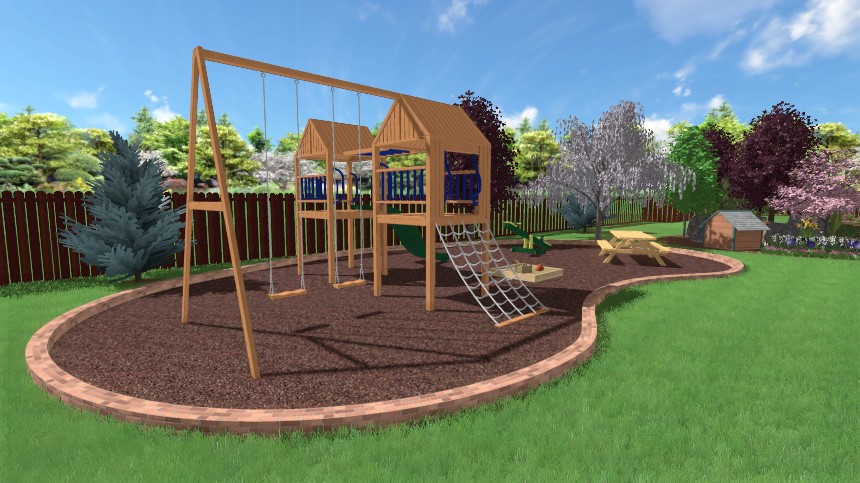
Tip: You can also automatically create edging based on the shape of another object, such as around the playground mulch as shown in the above example. See Saving and Loading Shapes for more information.
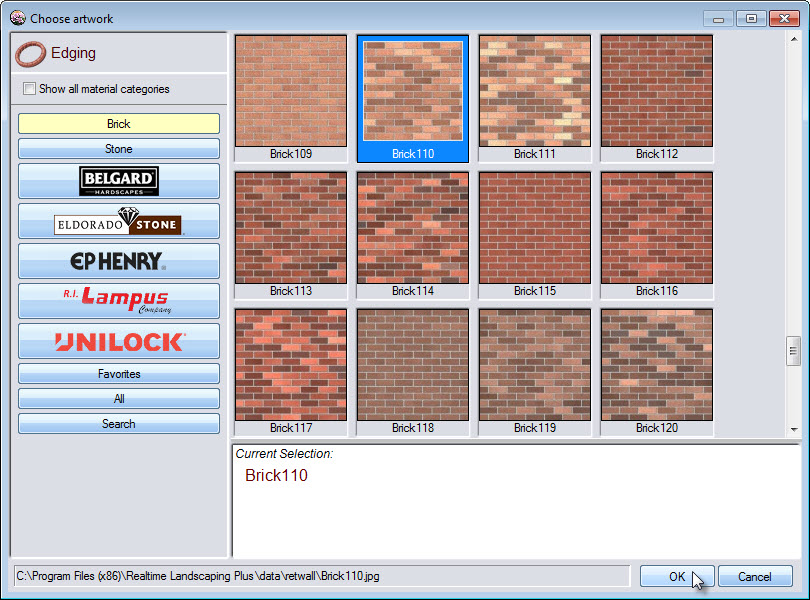
Click the material image seen in the picture above, to change the material of your edging. A dialog box will appear and take you to a large selection of edging materials, including some from National Brands Belgard, Eldorado Stone, EP Henry, R.I. Lampus, and Unilock. Make your selection and click OK.
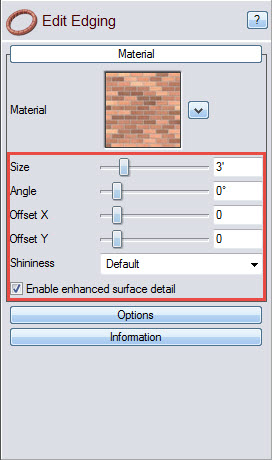
You can further customize the appearance of the edging material using the following options:
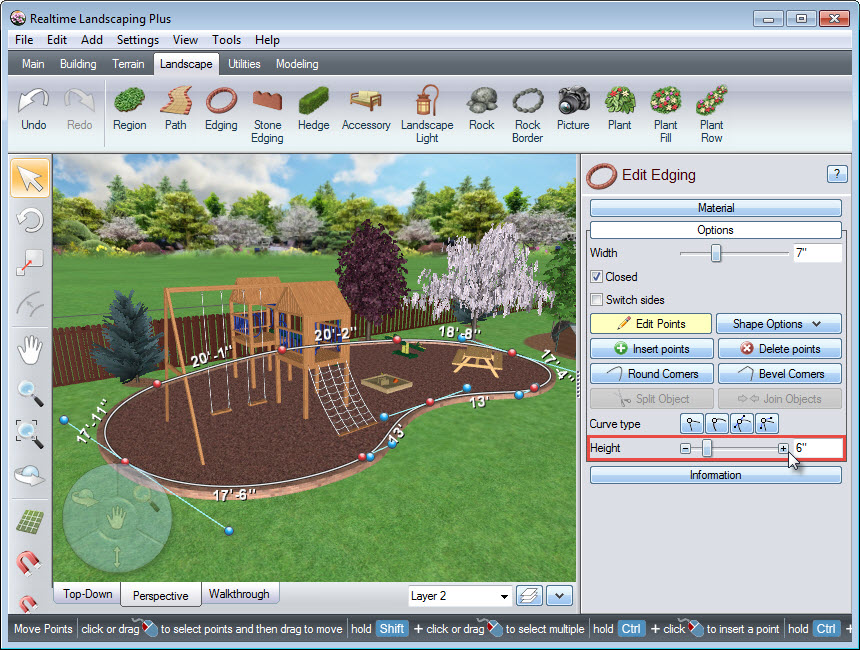
To adjust the height of your edging, first, select the desired points. Left click and drag to select all the points in your edging. Note that selected points will appear red in color, while unselected points will appear yellow. Alternatively, you can select multiple points by holding down the Shift key on the keyboard and Left clicking the desired points. Next, adjust the height by entering the height in the space provided or by using the slider, as seen in the image below.
You have now completed adding edging to your landscape design.
Thank you for reading this guide, and please feel free to contact us for more information about our landscaping software.