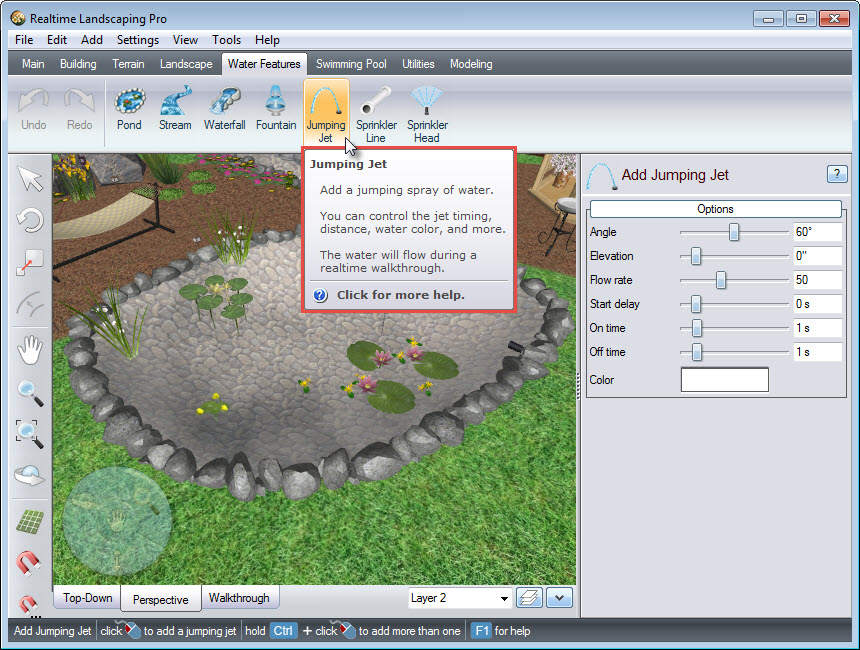
This guide will show you how to add a jumping jet to your landscape design in Realtime Landscaping Pro.
To get started, click the Water Features tab and click the Jumping Jet button.
Left click to place the jumping jet in the desired location. If you would like to add multiple jumping jets, press and hold the Control key when placing.
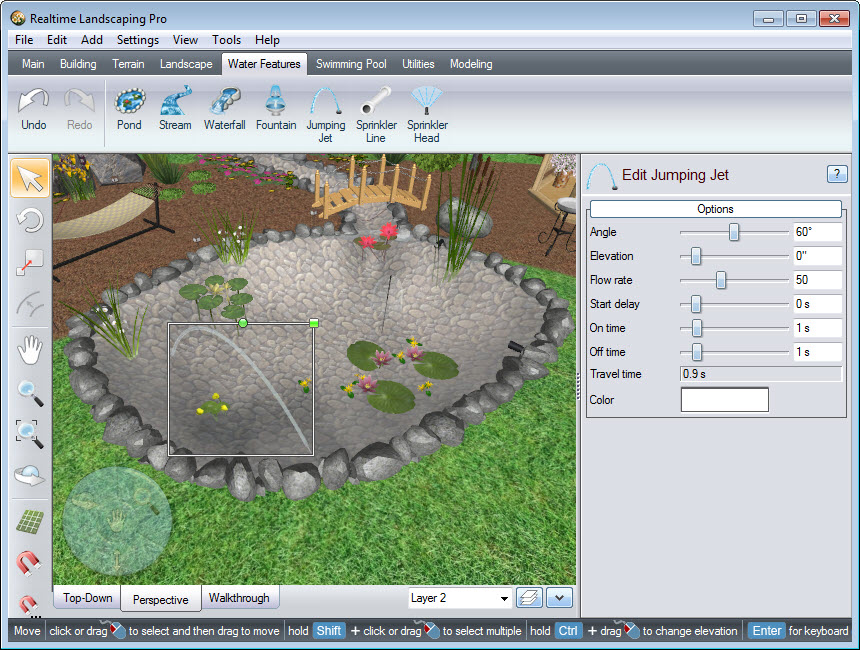
Note that the selected jumping jet will have a white outline, with a green square at the upper right corner and a green circle to the left of it. To scale the jumping jet, Left click and drag above the green square. To rotate the jumping jet, Left click and drag above the green circle until it faces the desired direction.
To customize the angle, flow rate, timing, and more, use the following options found in the Object Properties panel:
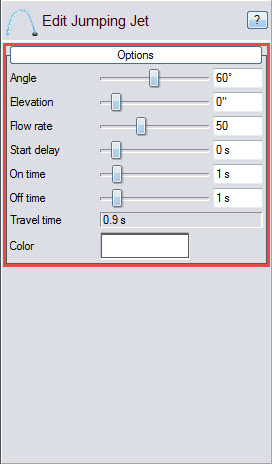
For more details on how to set the timing and other options, see our User Guide here.
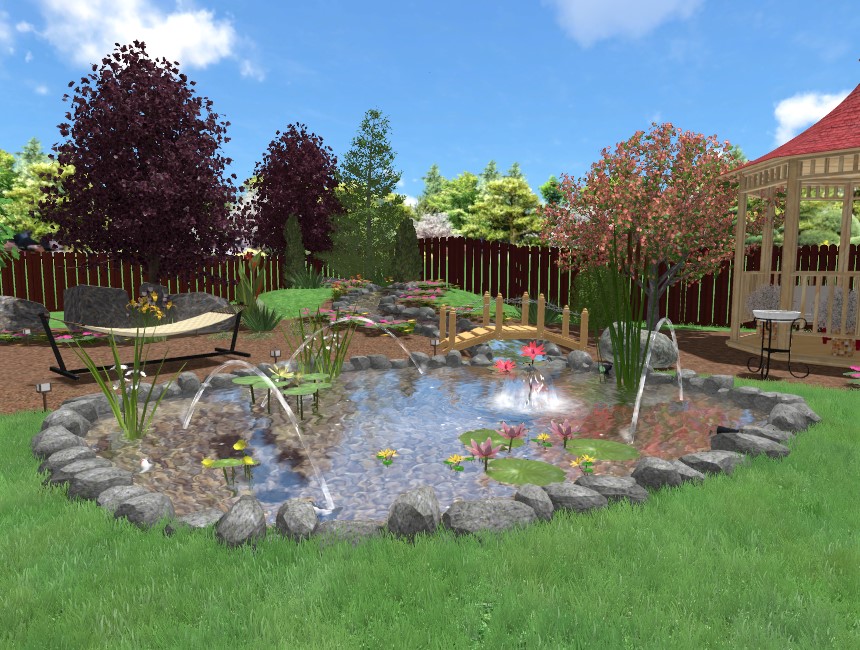
You have now successfully added jumping jets to your landscape design.
Thank you for reading this guide, and please feel free to contact us for more information about our landscaping software.