This guide will show you how to add a picture to your landscape design. For the purpose of this guide, we will be adding a picture of a dog.
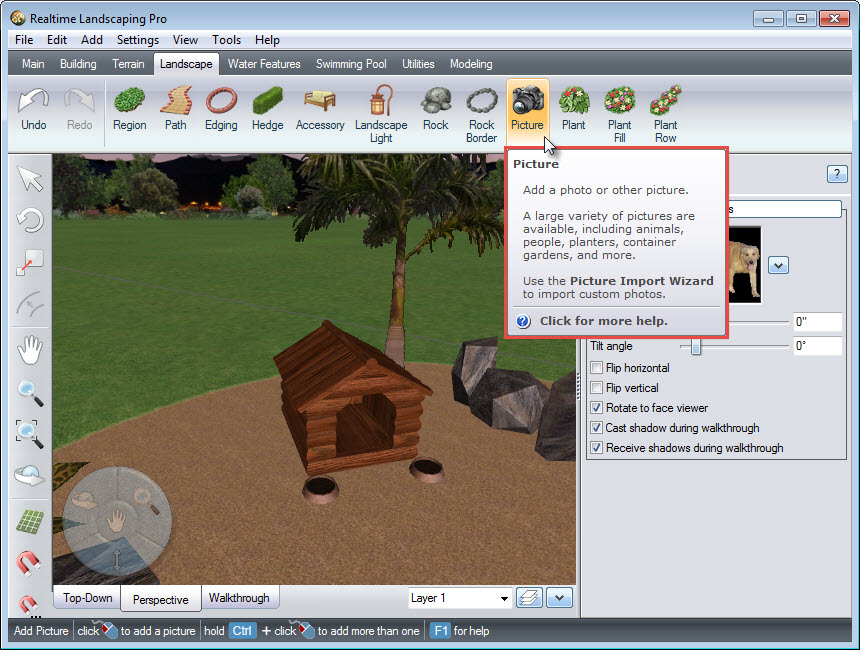
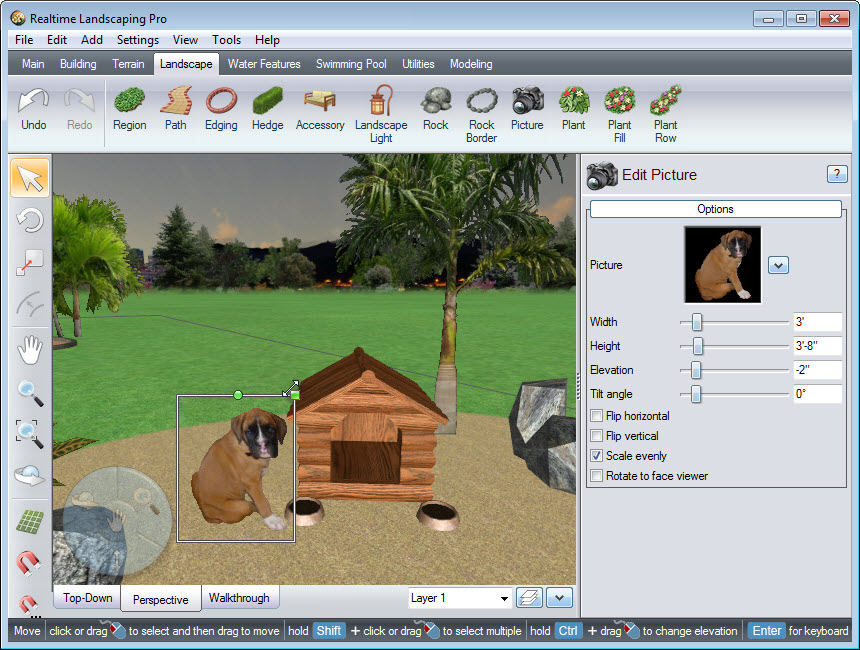
To begin, click the Landscape and click the Picture button.
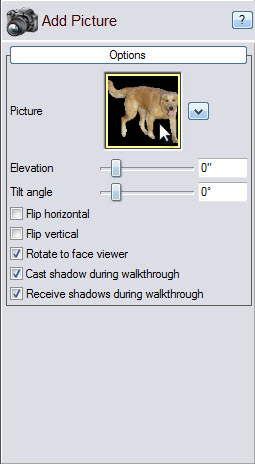
To change the picture, click the image seen below, and a dialog box will appear with a large selection of pictures.
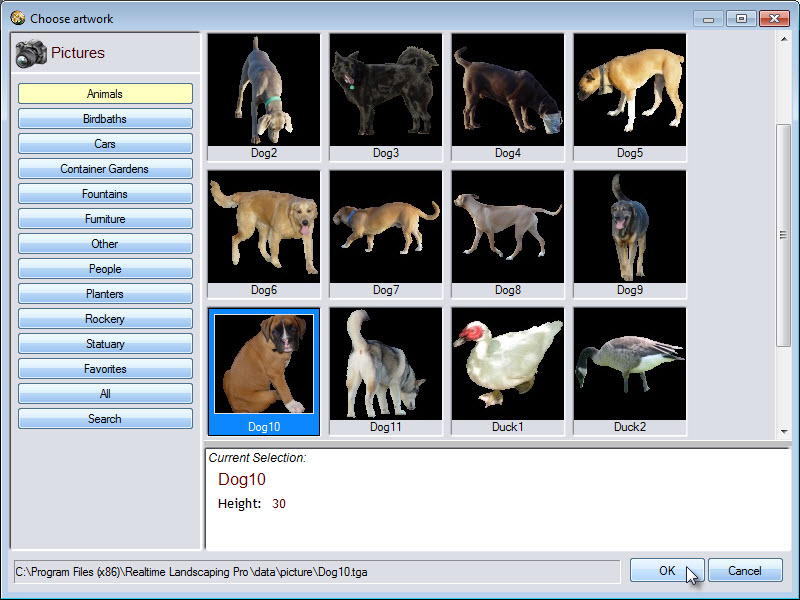
Select the Animals category found on the left-hand side of the dialog box. Make your selection and click OK. Left click to place the picture where you would like it to be in your landscape.
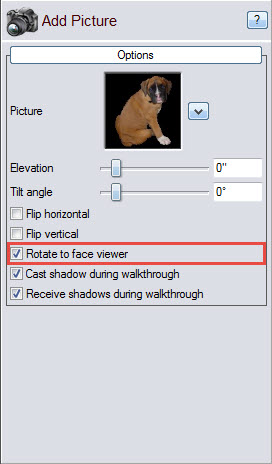
By default, the picture will always face you. You can turn this feature off by deselecting the following option:
Note that the selected picture will have a white line outline, with a green square at the upper right corner, as well as a green circle to the left of it. To scale the dog, Left click and drag above the green square. Left click and drag above the green circle, to rotate the dog so it faces the desired direction.
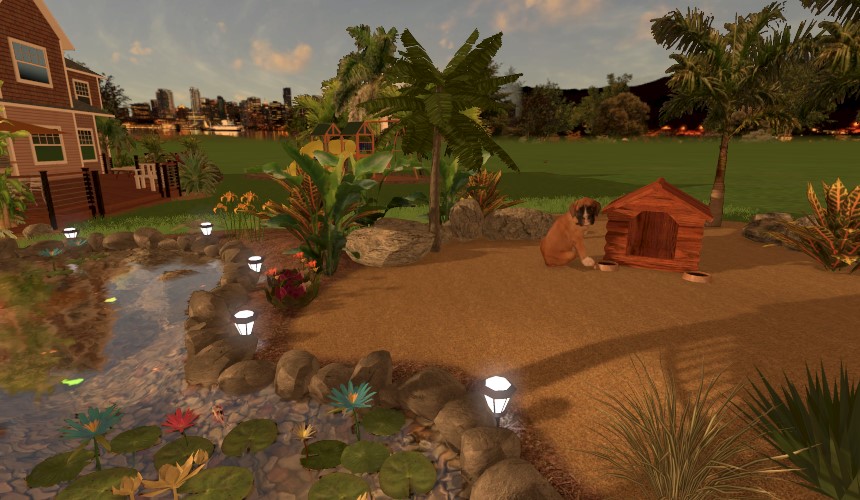
You have now successfully added a picture to your landscape design.
Thank you for reading this guide, and please feel free to contact us for more information about our landscaping software.