This guide will show you how to add a plant row to your landscape design in Realtime Landscaping Plus.
First, click the Landscape tab and click the Plant Row button.
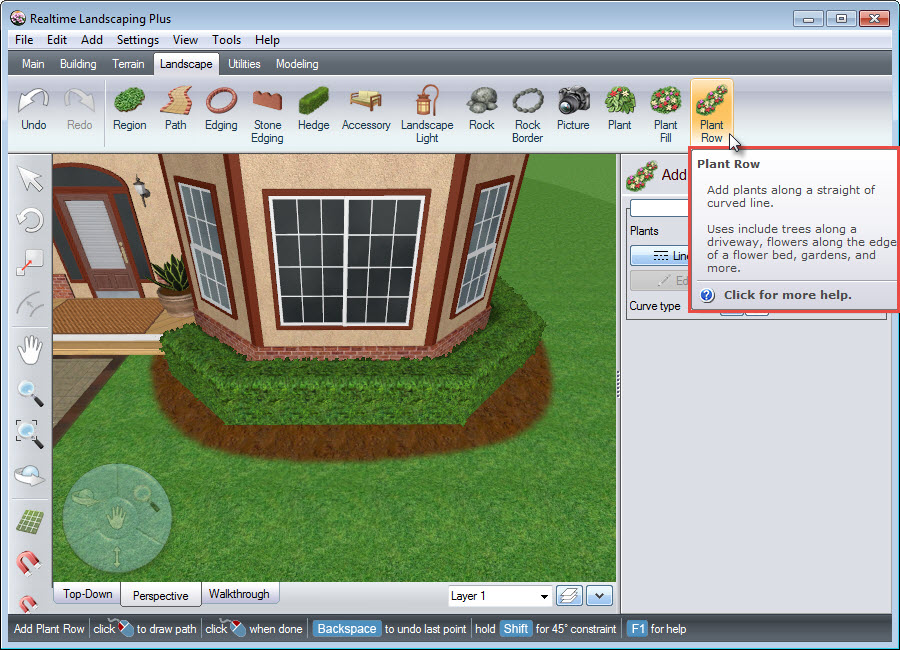
Left click to place points and create the outline of your plant row. Right click to place the last point.
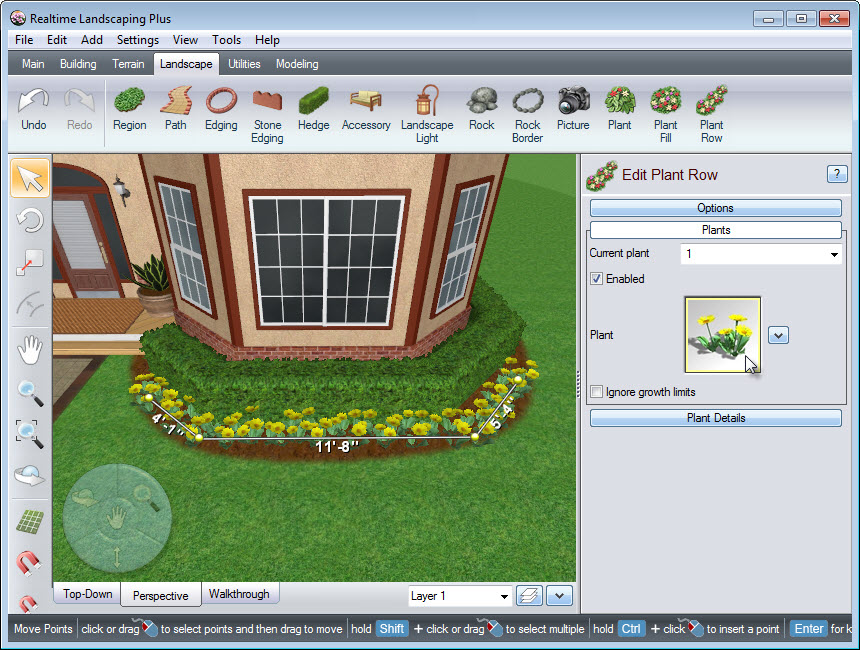
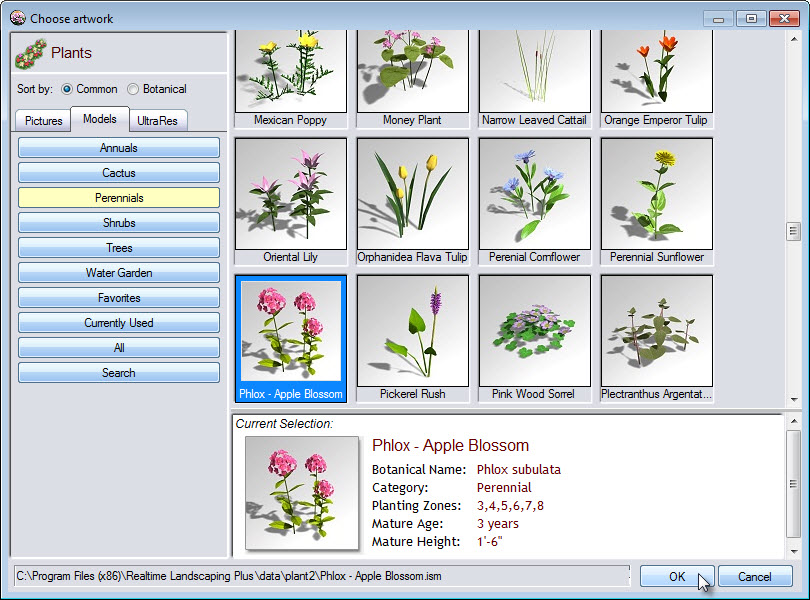
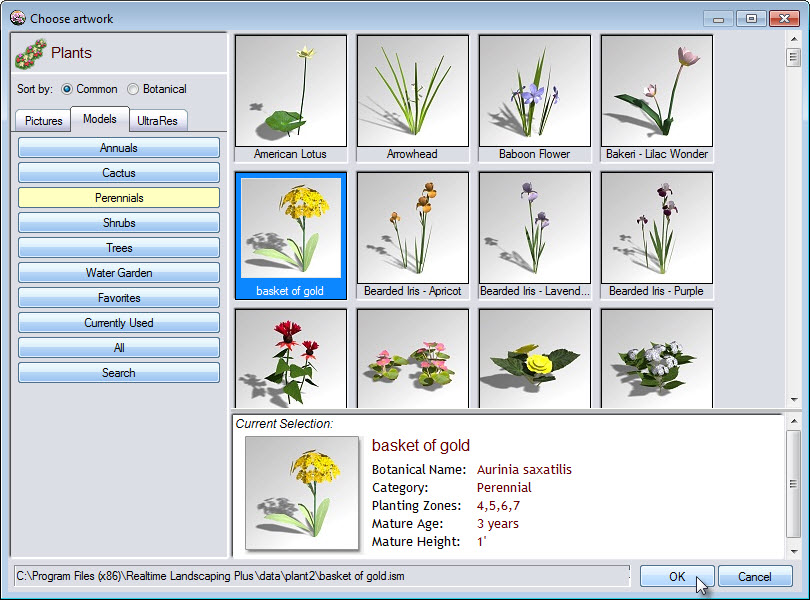
To select the type of plant used in the row, click the plant image seen above and it will take you to an extensive collection of plants, including pictures, 3D models and UltraRes plants. Make your desired selection and click OK.
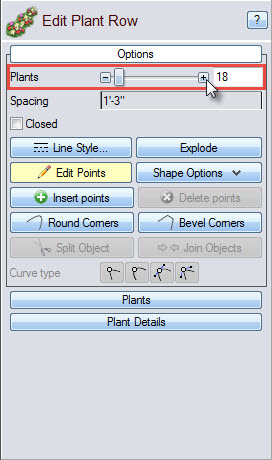
You are able to adjust the number of plants in a row by using the slider seen below, or by entering the amount in the space provided.
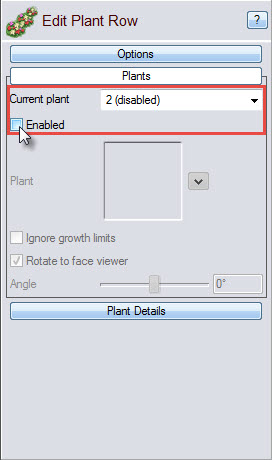
You are also able to add more than one type of plant in the row. Select the following option, and click the number of plants you would like to add:

Note how the new selection is currently disabled. Select the Enable option to add the second plant.
Click the plant image, make your selection for the second plant and click OK. Repeat the steps outlined above, for any additional plants you would like to add to your plant row.
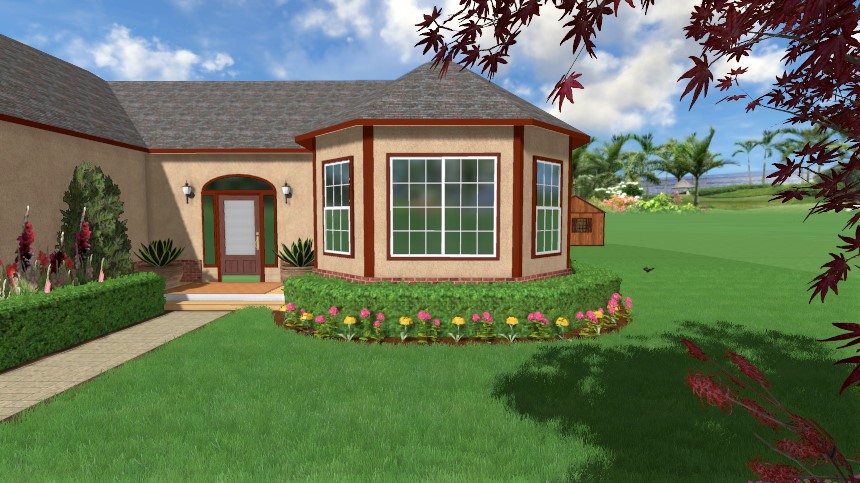
You have now completed adding a plant row to your landscape design.
Thank you for reading this guide, and please feel free to contact us for more information about our landscaping software.