This guide will show you how to add a pool seat to your swimming pool in Realtime Landscaping Pro.
To begin, click the Swimming Pool tab and click the Pool Seat button.
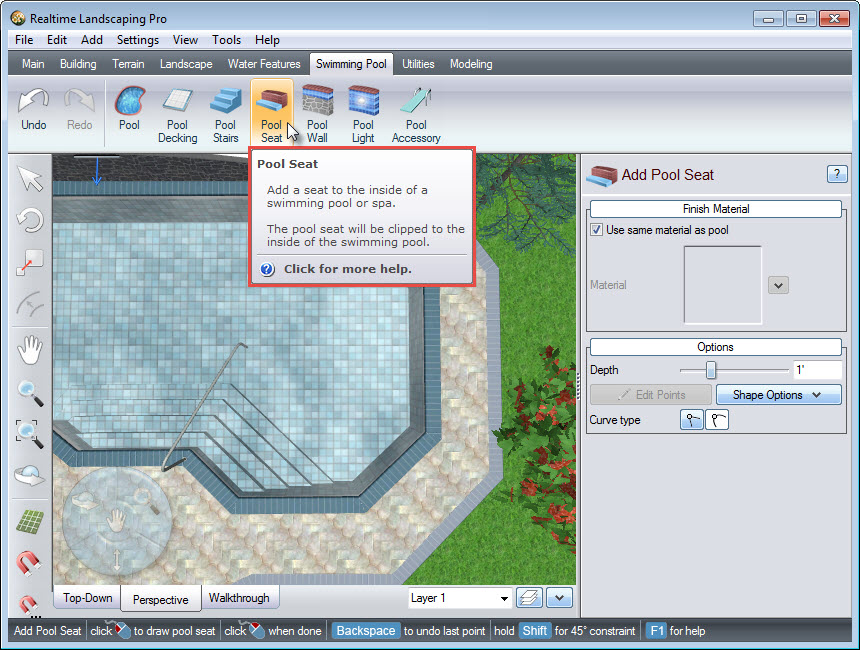
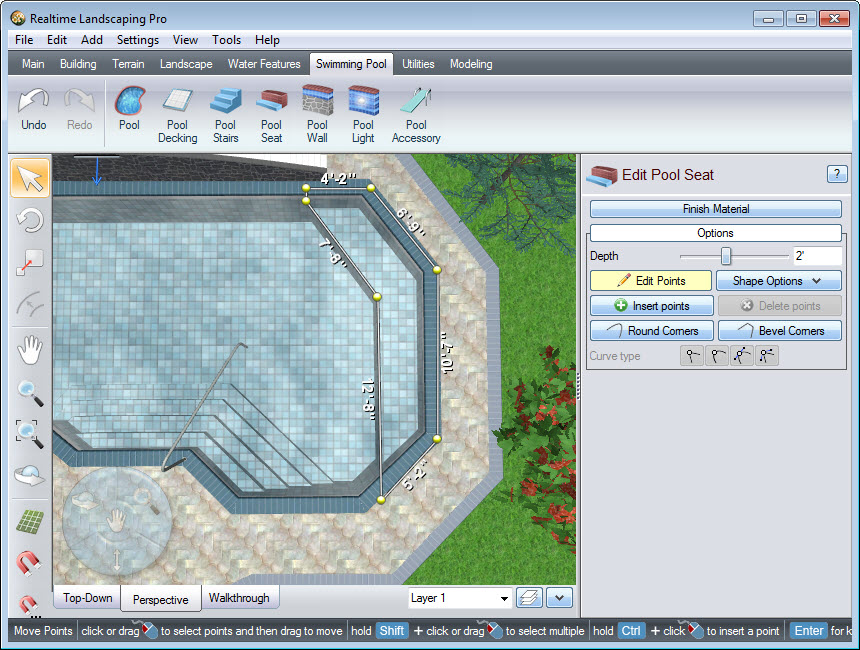
To create the outline of your pool seat, Left click to place points. Right click to place the last point or Left click and place the last point on top of the first point to complete your outline. For more details on editing points, please see our Editing Points tutorial.
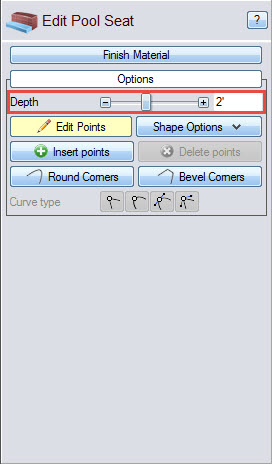
To adjust the depth of the pool seat, click Options in the Object Properties panel. Use the slider or manually input the desired depth in the space provided.
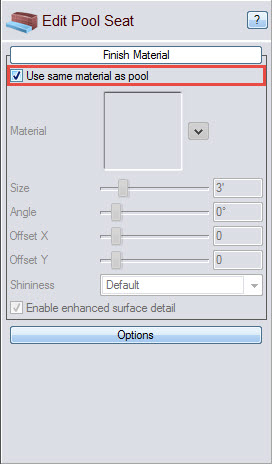
By default, the seat will match your swimming pool material. If you wish to use different materials, deselect the Use same material as pool option and click the material image.

A dialog box will appear with a wide selection of materials. Make your desired selection and click OK.
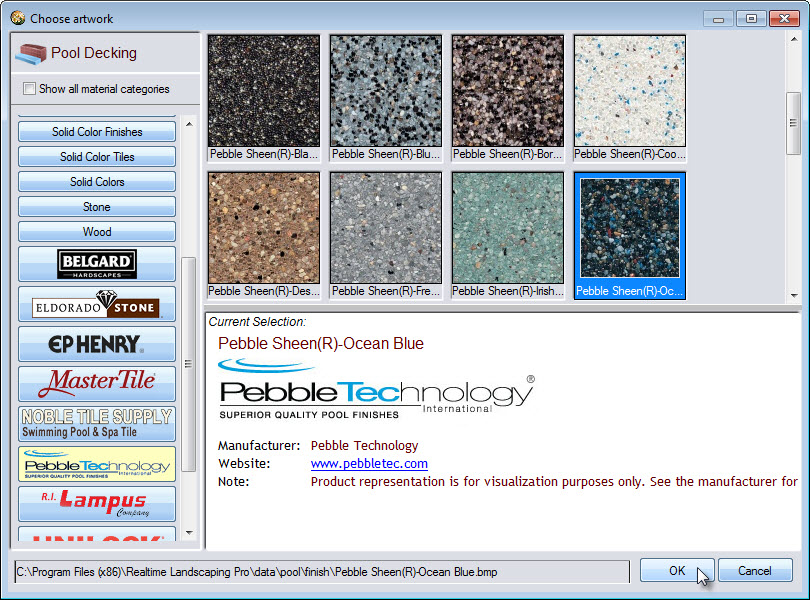
To change it back, simply select the Use same material as pool option again.
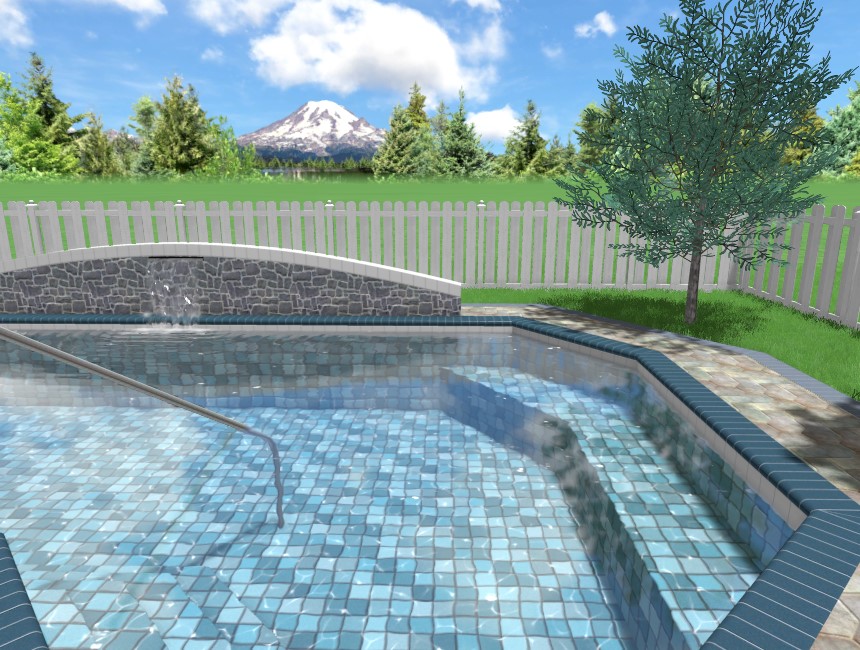
You have now completed adding a pool seat to your swimming pool.
Thank you for reading this guide, and please feel free to contact us for more information about our software.