This guide will show you how to add a fill region to your landscape design in Realtime Landscaping Plus. For the purpose of this guide, we will be creating a flowerbed with a border.
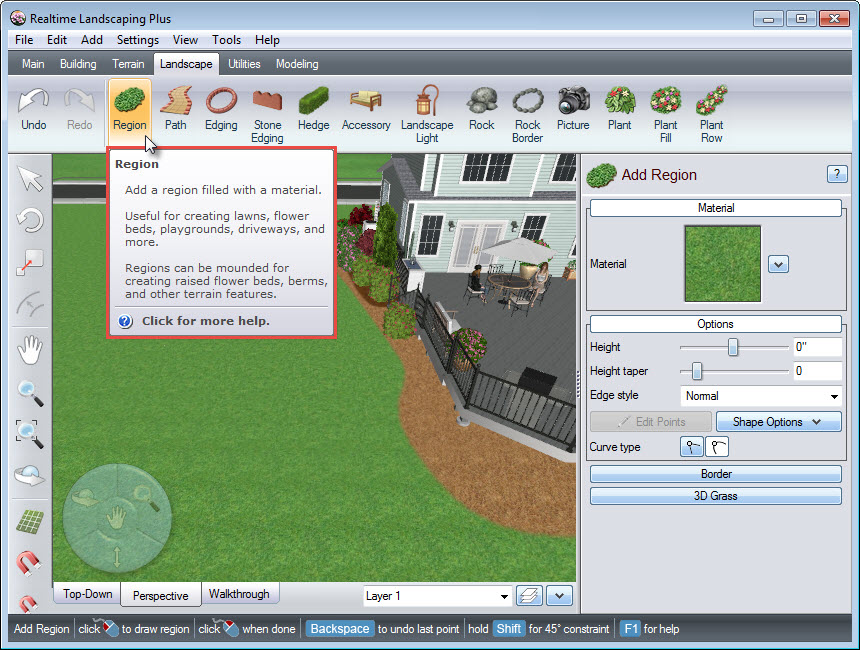
To begin, click the Landscape tab and click the Region button.
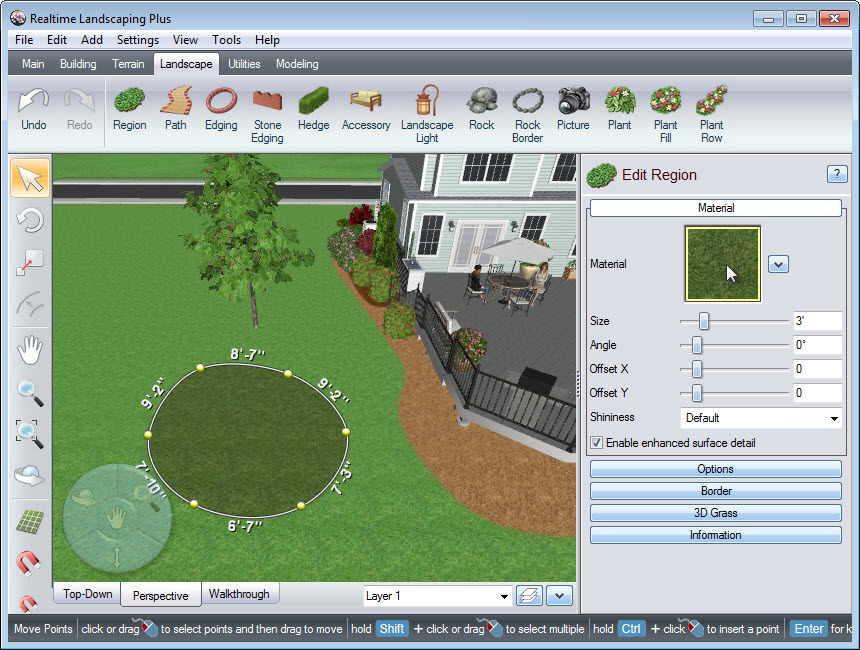
Left click to place points and create the outline of your region. If you make a mistake and wish to undo the last point, press the Backspace key on the keyboard. To complete your outline, Right click to place the last point, or, Left click on top of the first point.
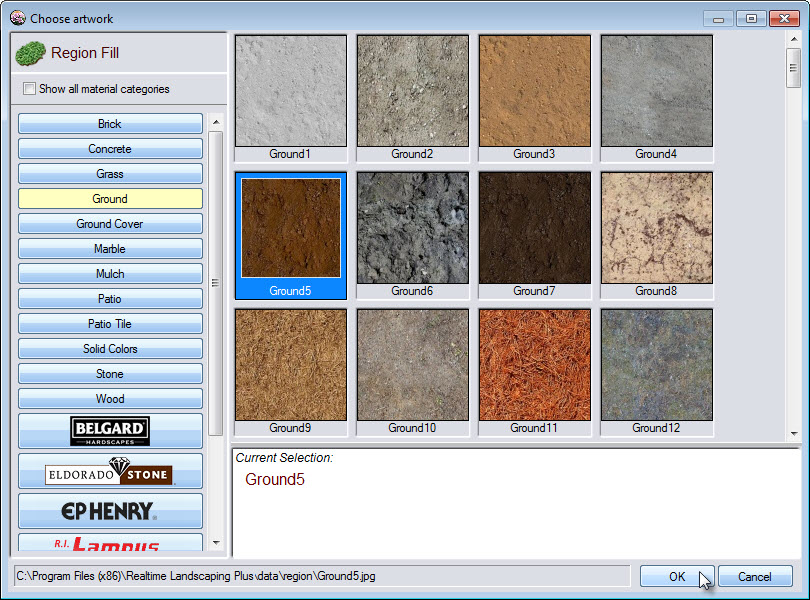
To change the material in the region to soil, click the material image as seen above and it will take you to a large selection of various region fills, including some from national brands Belgard, Eldorado Stone, R.I. Lampus, and Unilock. Make your desired selection and click OK.
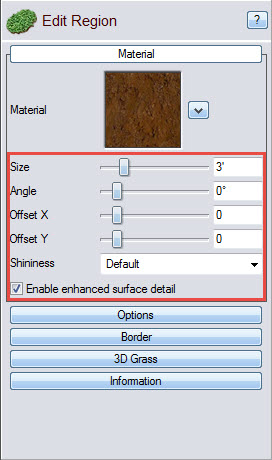
If you wish to further customize the appearance of the region material, use the following options found in the Object Properties panel:
To create a mounded or sunken region, click the Options button. Next, adjust the height as desired by using the slider or by manually inputting the desired height.

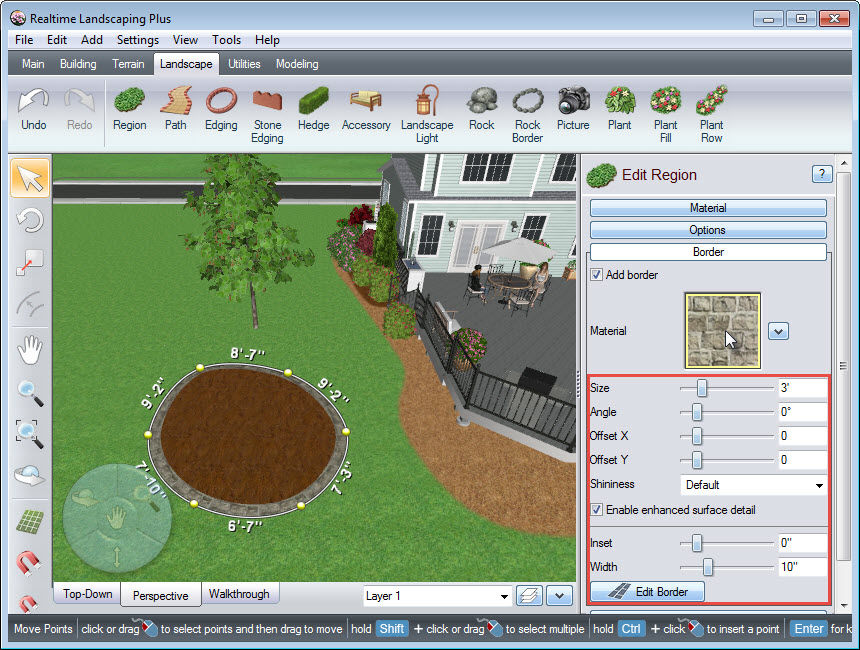
Finally, to add a border to your region, click the Border button and select the Add border option. You can select the border material by clicking the material image seen below. Make your desired selection and click OK. You can also further customize the border using the following options:
Thank you for reading this guide, and please feel free to contact us for more information about our 3D landscaping software.