This guide will show you how to add a pre-built deck using the Deck Wizard.
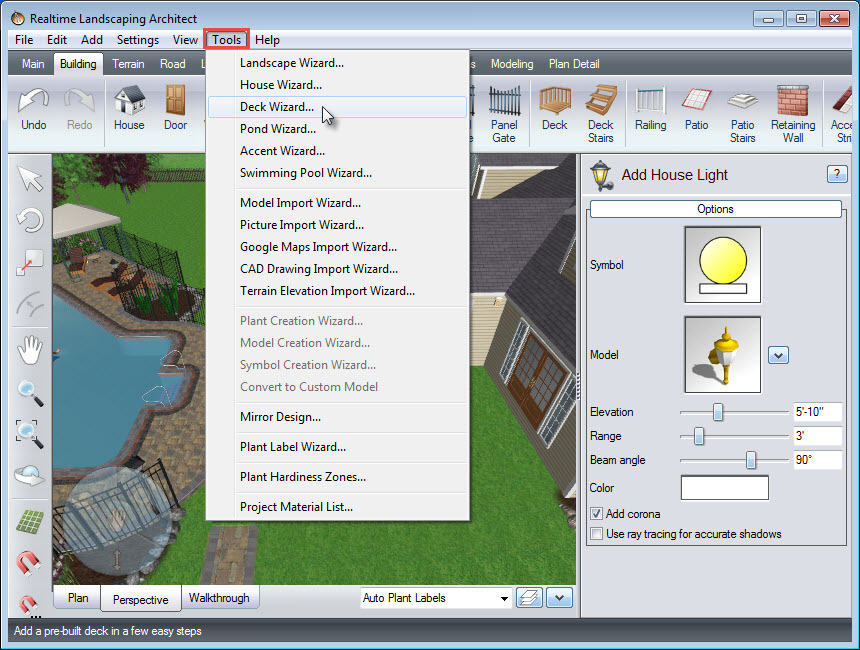
To get started, click Tools in the menu bar, and then Deck Wizard.
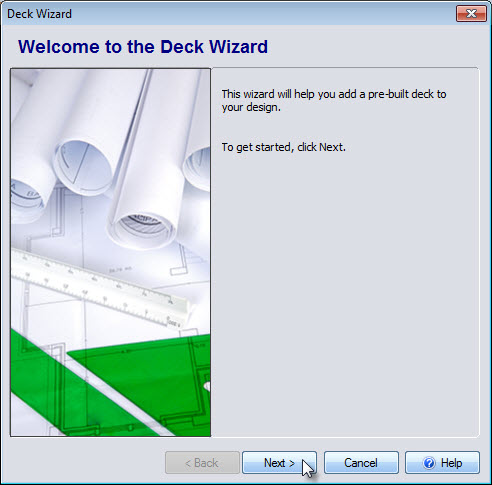
The Deck Wizard dialog box will appear. To begin, click Next.
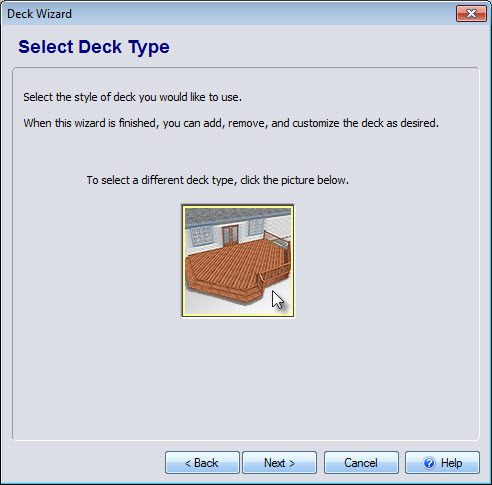
You will then be prompted to select the style of your deck. Click the image seen below, and it will take you to a selection of different pre-built decks that you can further customize later. Make your selection, and then click OK.
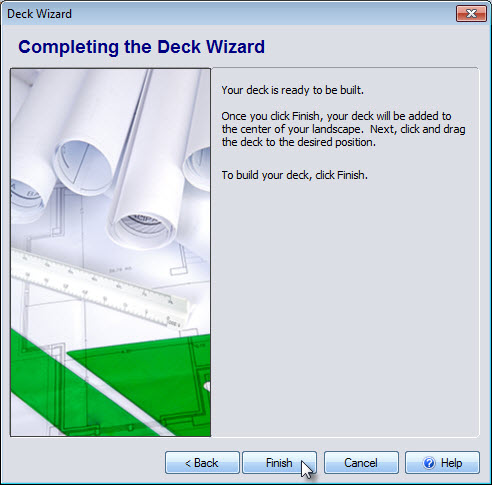
You have now reached the end of the Deck Wizard. Click Finish if you are satisfied, or click Back to edit any previous selections. Your deck is now in your landscape.
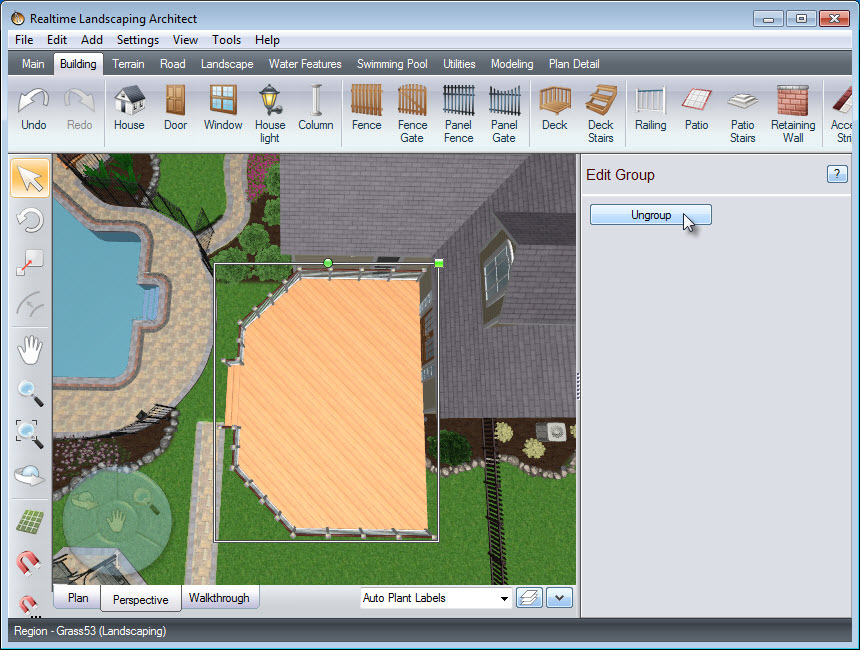
Move your deck into place, then click the following button to Ungroup, and you can then edit each part of the deck individually.
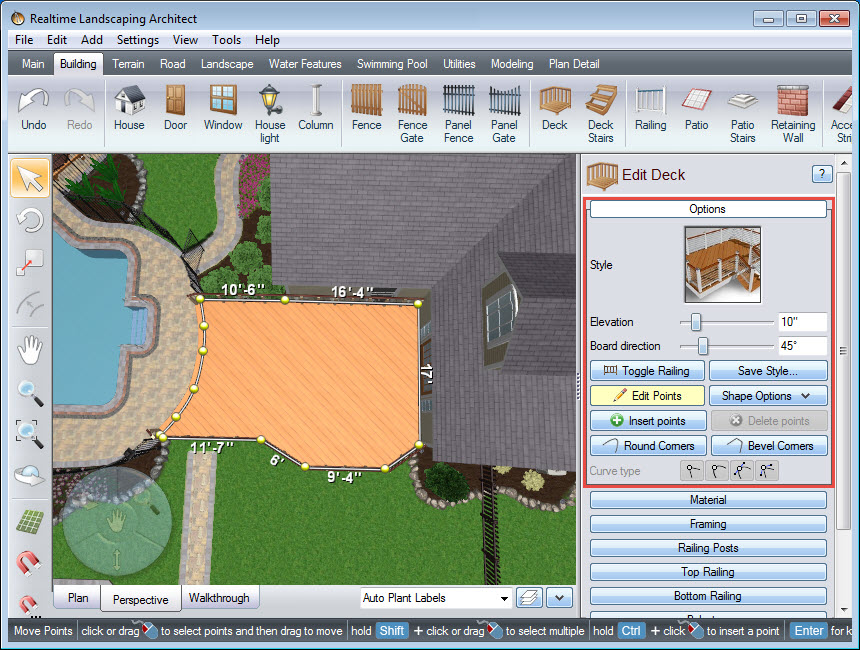
You can edit the points to change the deck shape and size using these options:
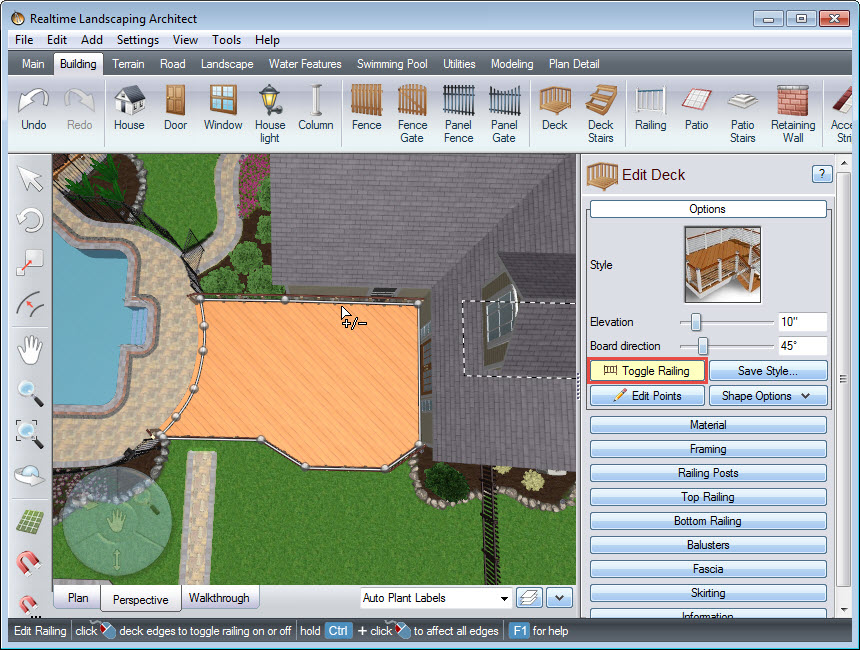
Click the Toggle Railing button, to add or remove railing. Move the cursor to a section of rail you want to remove and as soon as the +/- minus icon appears, Left click and it will remove the railing. Left click again if you wish to restore it. Repeat for all sections of unwanted railing.
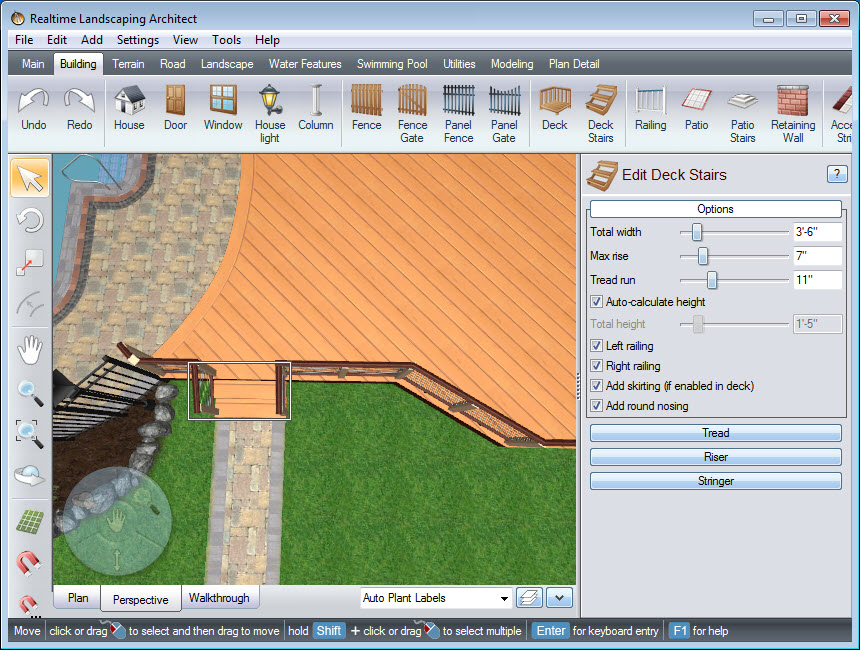
You can adjust, delete, or move the current stairs to customize your design. You can also add new deck stairs as seen below. For a more in-depth explanation, please check our Adding a Deck and Deck Stairs tutorial.
You have now successfully added a deck using the Deck Wizard.

Thank you for reading this guide, and please feel free to contact us for more information about our landscaping software.