Saving and Loading Shapes

Realtime Landscaping includes many objects, such as decks, retaining walls, and fences that are defined using an open or closed shape. This defining shape can be saved or loaded without regard to the type of object being used. For example, if you create a fill region that needs to be surrounded by stone edging, simply save the shape of the fill region and load the shape with the edging.
To save an object's shape:
- Click the object whose shape you want to save to select it.
- Click Shape Options and select Save Shape.
- In the dialog that appears, enter a name for your shape and click Save. We recommend using a descriptive name so the shape will be easier to locate later.
To load a shape into an existing object:
- Click the object whose shape you want to change to select it.
- Click Shape Options and select Load Shape.
- From the shape library that appears, select the shape you want to use and click OK.
To copy an object's shape to the clipboard:
- Click the object whose shape you want to copy to select it.
- Click Shape Options and select Copy Shape.
To copy only part of an object's shape to the clipboard:
- Click the object whose shape you want to copy to select it.
- Click Edit Points to enter point editing mode.
- Select the points on the portion of the shape you want to copy. The points must be connected.
- Click Shape Options and select Copy Shape.
To use a saved or copied shape while creating a new object:
- Click the desired button to add the object from the toolbar.
- In the properties window, click Shape Options and choose one of the following:
- Load Shape - Select a shape from the shape library, or
- Paste Shape - Use the shape currently on the clipboard.
Offset when using an open curve
If the object you are creating requires a closed shape (such as pool stairs, pool seats, fill regions, patios, and pool decking) and the shape you load/paste is an open curve (not closed), the software will prompt for an Offset.
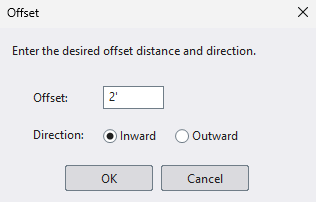
The offset lets the program create a closed region based on the open curve.
- Offset - The distance to offset the curve.
- Inward / Outward - Controls which side of the curve is offset.
This is especially useful when the open curve represents one edge of the new object, because the offset typically becomes the width of the region (for example, the width of stairs/seat/decking).
Tip: Enter 0 if you do not want an offset (when an offset is not needed or the object supports it).
Example: loading a shape while creating a new object
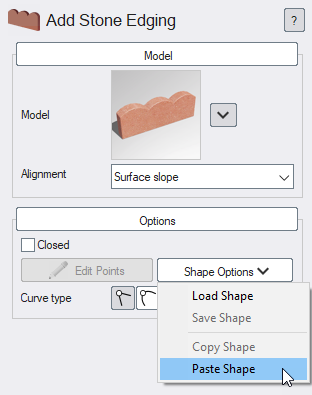
- Click the appropriate button to add the object from the toolbar. For example, click Add Stone Edging to add stone edging.
- Click Shape Options and select Load Shape (or Paste Shape if the shape was previously copied to the clipboard).
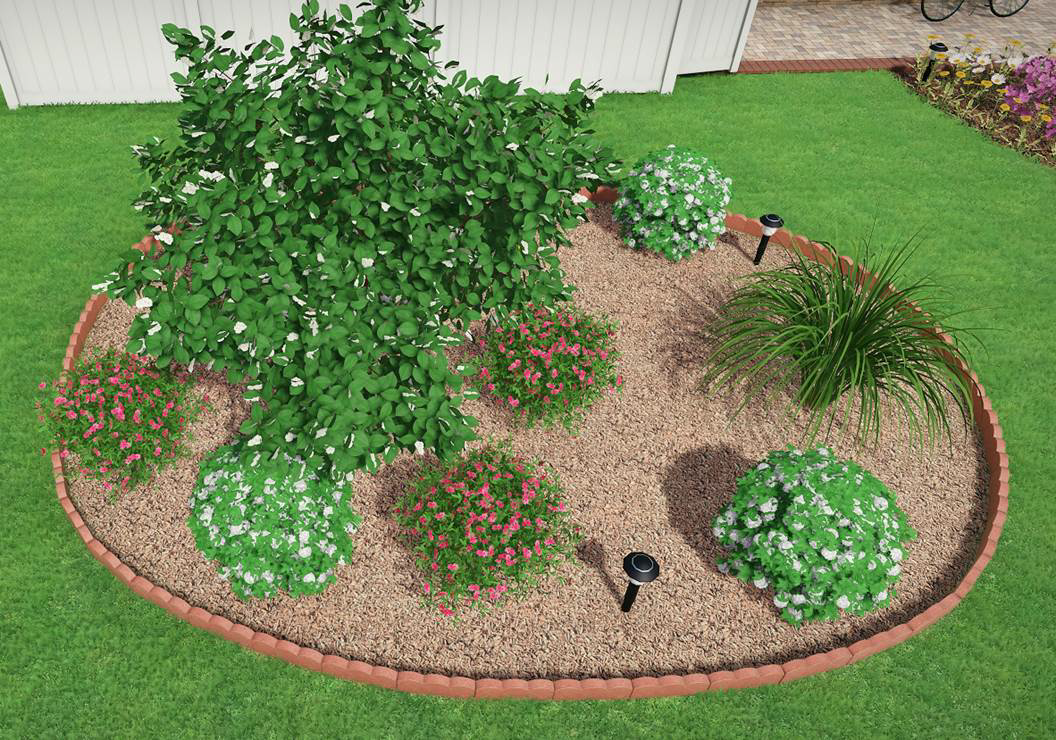
In the picture below, the stone edging was added around the mulch using the above steps.